
Create and update firewall rules; manage SSH access info and IP addresses for the instances in your IDrive® Compute account.
Information Included in the Article
- Attach a Firewall to an Instance
- Modify a Firewall Rule
- Rename a Firewall
- Remove a Firewall Rule
- Delete a Firewall from IDrive® Compute Account
Attach a Firewall to an Instance
Configured firewalls can be pushed to each compute instance manually. Alternatively, you can apply the firewall rule to all instances in the region in one click.
Apply Firewalls to an Instance
Follow these steps to attach a firewall to an instance:
- Sign in to your IDrive® Compute account.
- Go to the Instances tab.
- Click the instance to which you want to apply a firewall.
- Click Networking from the LHS menu.
- Select the firewalls you want to attach to the instance in the Firewall section.
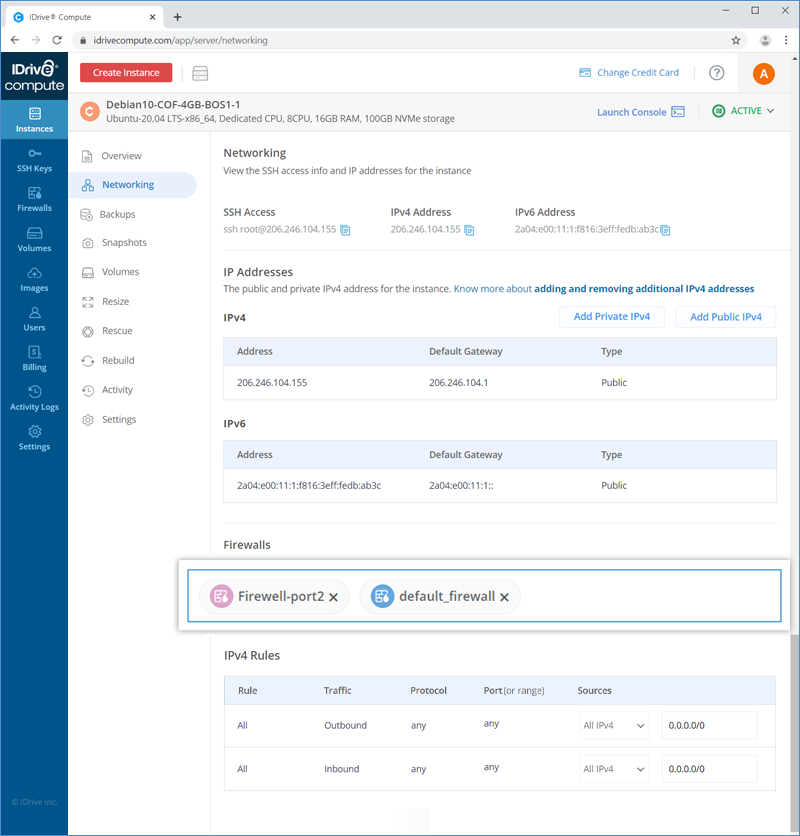
Note: Multiple firewalls can be attached to an instance.
Apply a Firewall to All Instances
Follow these steps to apply a firewall to all instances:
- Sign in to your IDrive® Compute account.
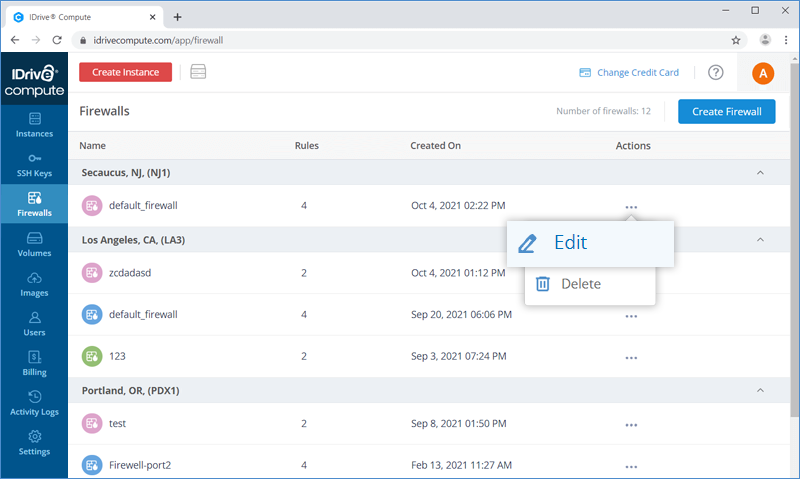
- Go to the Firewalls tab.
- Click Actions against the firewall that you want to attach to an instance and select Edit.
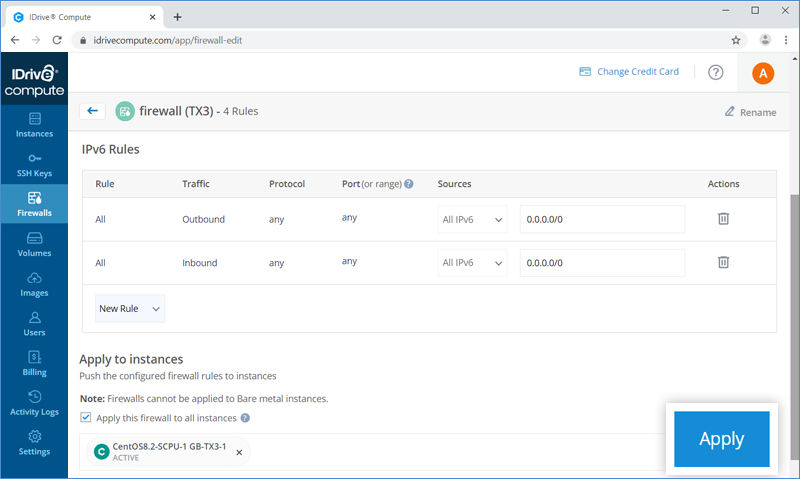
- Select Apply this firewall to all instances checkbox. All the instances present in the region will appear under the Apply to instances section.
- Click Apply.

- To manually attach a firewall to multiple instances, select the instances to which you want to attach the firewall and click Apply.
Modify a Firewall Rule
You can modify the inbound and outbound rules of a previously configured firewall.
Follow these steps to edit the rules for a firewall:
- Sign in to your IDrive® Compute account.
- Click the Firewalls tab.
- Click Actions against the firewall that you want to attach to an instance and select Edit.
- Edit the type, port/range, and sources for your configured inbound and outbound firewall rules as per your preference and click Save.

- Attach or detach the firewall from an instance by entering or removing the instance under the Apply to instances section and clicking Apply.
Note: All or multiple instances in the region can be attached to a firewall.
Rename a Firewall
You can rename configured firewalls to a unique name of choice.
Follow these steps to edit a firewall name:
- Sign in to your IDrive® Compute account.
- Click the Firewalls tab.
- Click Actions against the firewall that you want to attach to an instance and select Edit.
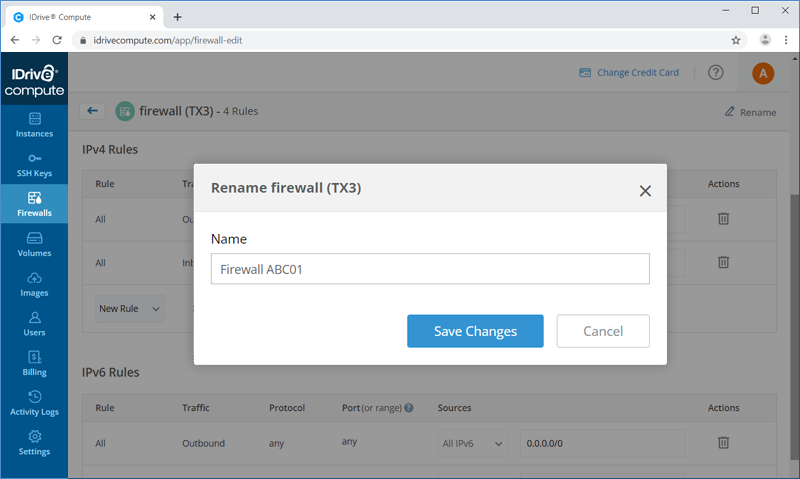
- Click the Rename icon on the top right corner. A slider window will appear.
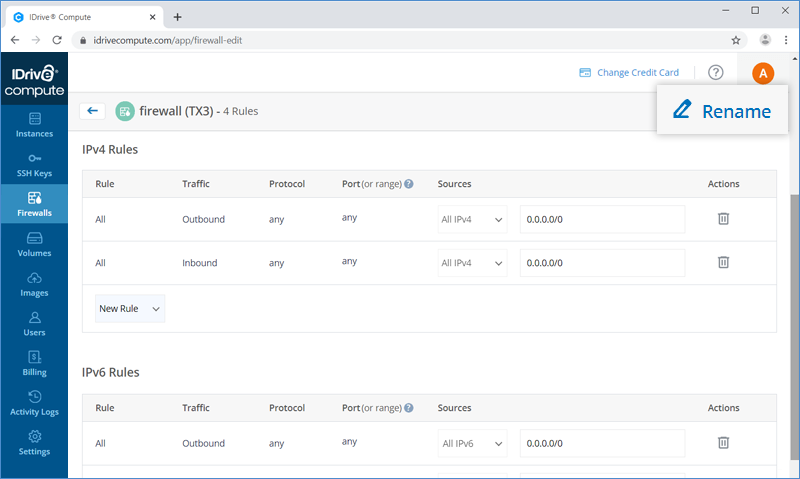
- Enter a new name for the firewall.
- Click Save Changes.
Note: A default firewall cannot be renamed.
Remove a Firewall Rule
Deleting a firewall rule will permanently remove the said firewall rule, along with its configurations.
Follow these steps to remove an inbound or outbound firewall rule:
- Sign in to your IDrive® Compute account.
- Go to the Firewalls tab.
- Click the firewall for which you want to delete a rule.
- Click the
 against the firewall rule that you want to delete.
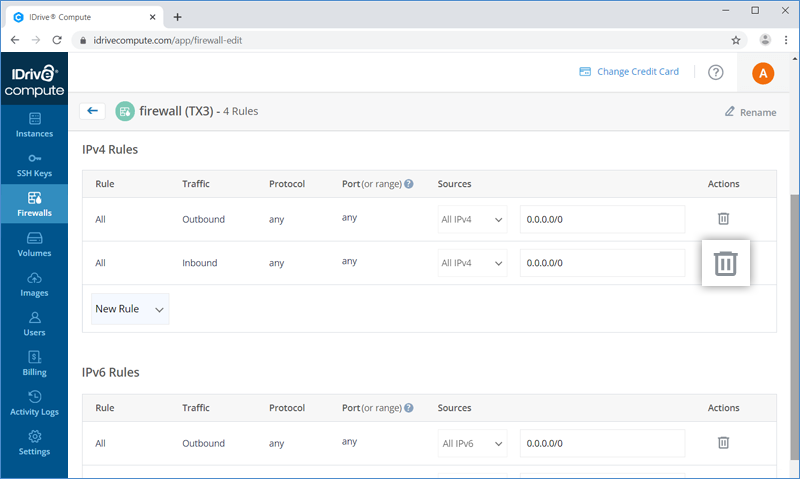
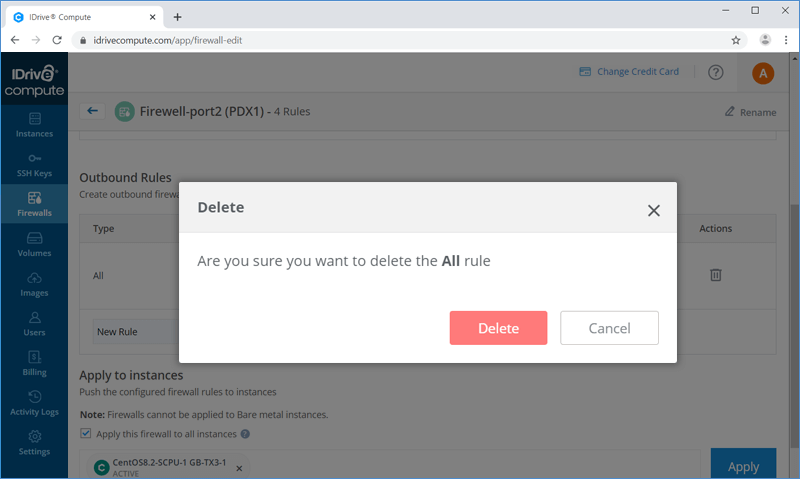
- Click Delete in the popup.
Delete a Firewall from IDrive® Compute Account
You can permanently remove a preconfigured firewall from your IDrive® compute account, along with the firewall rules.
Follow these steps to delete a firewall:
- Sign in to your IDrive® Compute account.
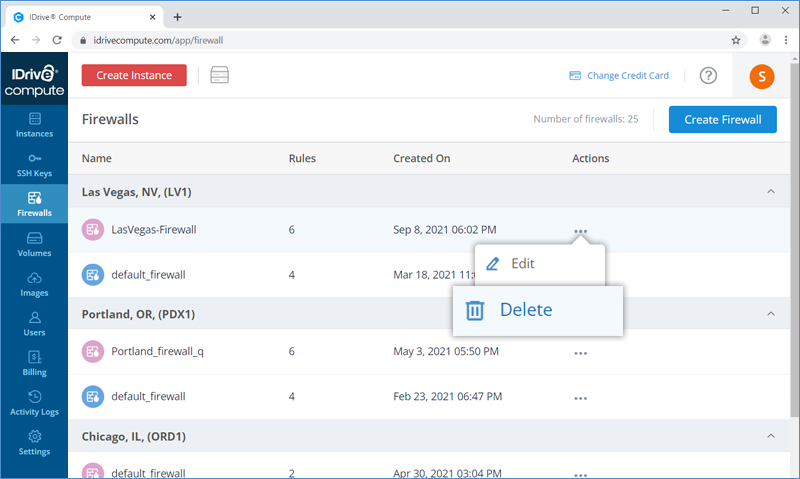
- Click the Firewalls tab.
- Click Actions against the firewall that you want to delete from your account and select Delete.
- Click Delete in the popup.
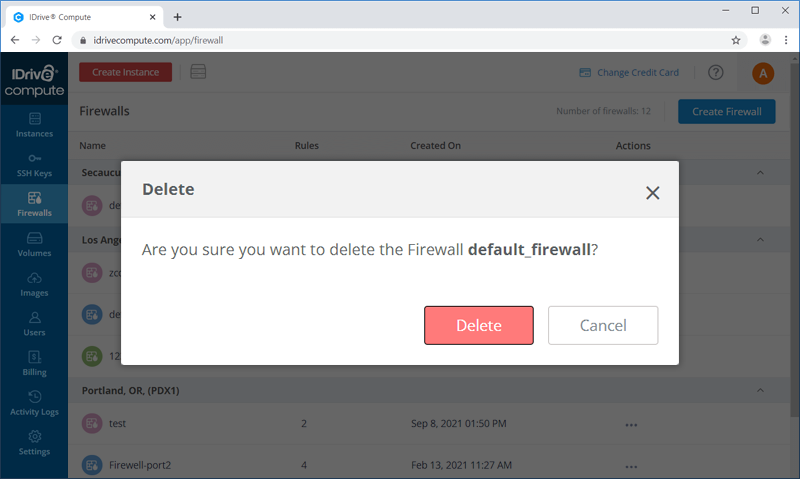
Note: The firewall will be permanently removed from your account.