
Manage the block storage volumes in your IDrive® Compute account.
Information Included in the Article
- Attach a Volume
- Detach a Volume
- Mount a Volume
- Unmount a Volume
- Rename a Volume
- Extend a Volume
- Backup a Volume
- Delete a Volume
Attach a Volume
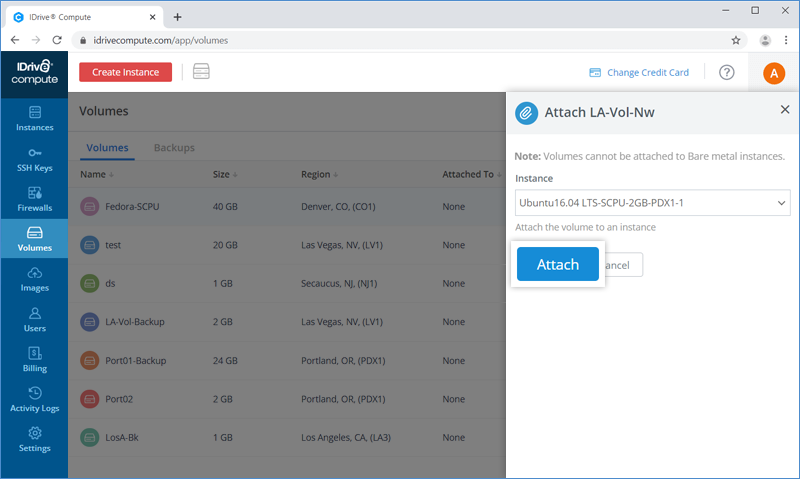
Follow these steps to attach a volume to an instance:
- Sign in to your IDrive® Compute account.
- Go to the Volumes tab.
- Click Actions against the volume you want to attach to an instance and select Attach.

- In the slider window, select an instance from the drop-down menu.
- Click Attach.
You can easily detach the volume from the instance and attach it to another instance whenever required.
Detach a Volume
A volume can be detached only when it is attached to an instance.
Follow these steps to detach a volume from an instance:
- Sign in to your IDrive® Compute account.
- Go to the Volumes tab.
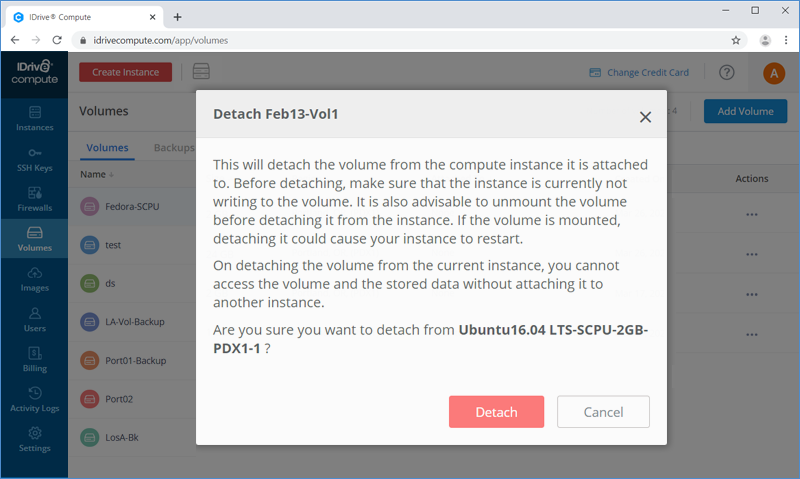
- Hover on the volume that is attached to an instance, click Actions, and select Detach.
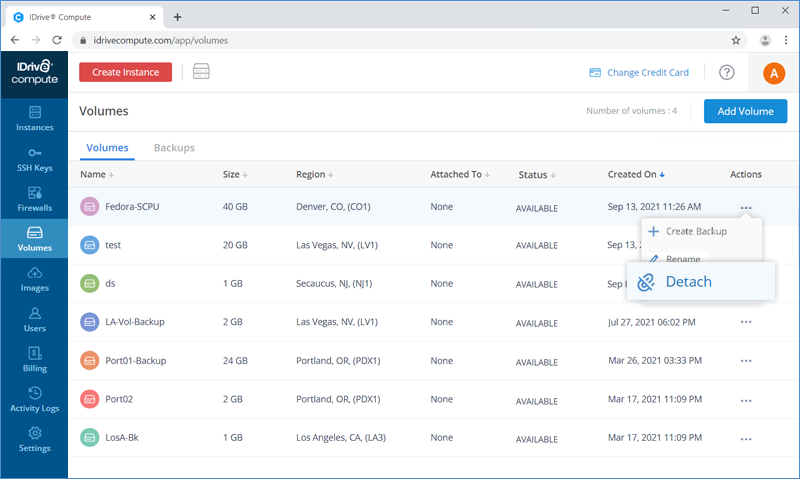
- Click Detach.
Mount a Volume
Once a volume is created and attached to an instance, it can be configured manually.
Login to the instance and follow these steps to mount a volume:
Note: These steps are for an instance running on centOS operating system in which a volume is available on the path /dev/vdb.
- Create a mount point.
sudo mkdir /mnt/volume_1 - Format the volume.
sudo mkfs.xfs /dev/vdbThe volume can be formatted using several other file systems such as ext4 etc. - Mount the volume.
sudo mount /dev/vdb /mnt/volume_1
Once you have mounted the volume it will be available in the path /mnt/volume_1
To make the mount persistent, update the /etc/fstab file.
/dev/vdb /mnt/volume_1 defaults,nofail,discard,noatime 0 2
Note: Your data will be available even if the volume is detached from the current instance and attached to another one.
Unmount a Volume
A volume that is no longer used can be detached from the instance. Before detaching the volume, it is recommended to unmount it to ensure data integrity. When you unmount a volume, its file system becomes inaccessible to the operating system of the instance and it cannot read or write from the volume.
Log in to the instance and follow these steps to unmount a volume:
Note: These steps are for an instance running on the CentOS operating system in which a volume is available on the path /dev/vdb and it is already mounted.
- Get the mount point of the volume using this command:
sudo df --human-readableLook for 'Mounted On' Field value for the mount point. Let us assume it to be /mnt/volume_1. - Make sure that mount point is not in use, otherwise, it will report an error while unmounting.
- Unmount it via the following command:
sudo umount /mnt/volume_1On successful execution of the command, the volume will be unmounted. - Edit the /etc/fstab file to delete any entries referencing the volume.
Now you can safely resize or detach the volume from the instance.
Rename a Volume
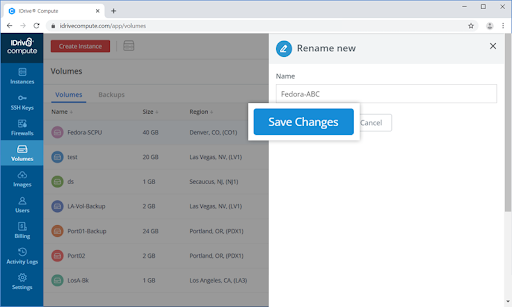
Follow these steps to rename a volume,
- Sign in to your IDrive® Compute account.
- Click the Volumes tab.
- Hover on the required volume, click Actions, and select Rename.

- Enter a new name and click Save Changes.
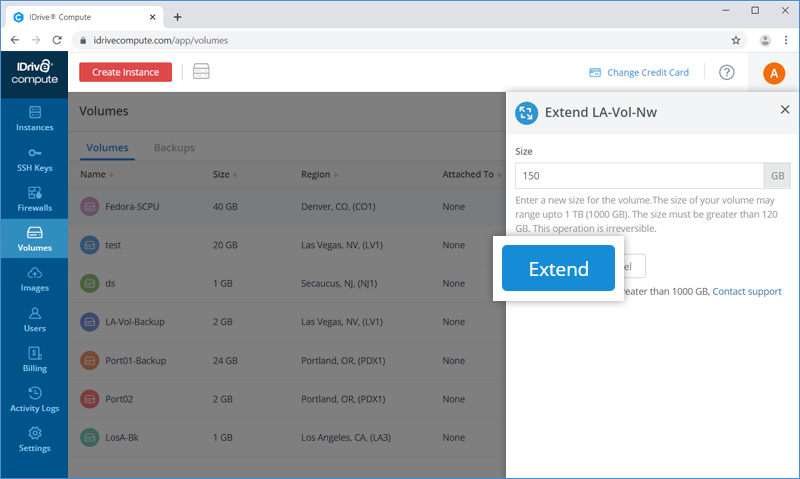
Extend a Volume
Follow these steps to increase the size of the volume,
- Sign in to your IDrive® Compute account.
- Click the Volumes tab.
- Hover on the required volume, click Actions, and select Extend.
- Enter the required storage space.
- Click Extend.
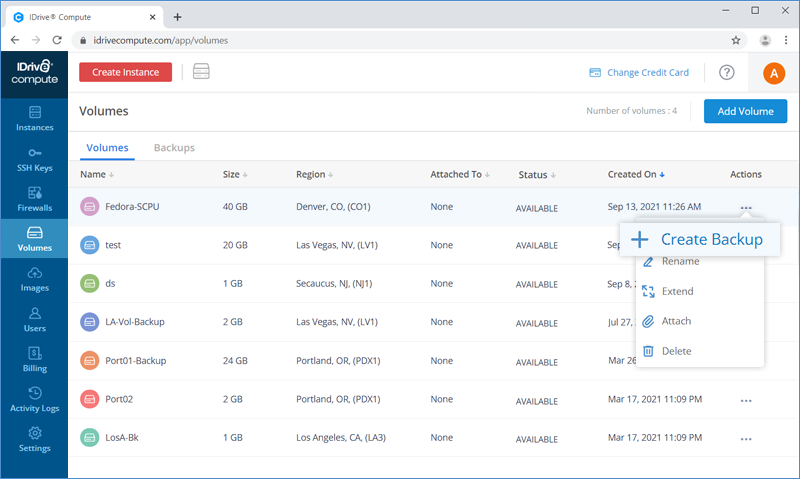
Backup a Volume
Follow these steps to backup the data in a volume,
- Sign in to your IDrive® Compute account.
- Click the Volumes tab.
- Hover on the required volume, click Actions, and select Create Backup.
- Enter a name for the backup and click Create Backup. You can view the progress in the Backups tab.
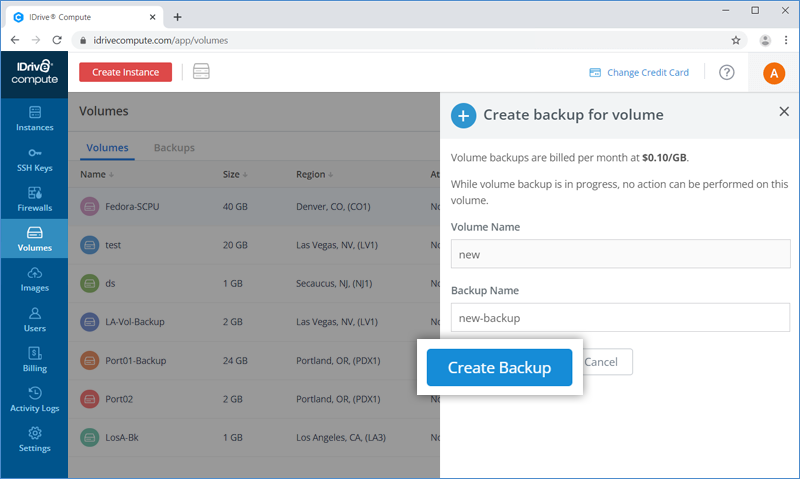
To ensure consistent data backup, you must detach the volume from any instances before starting back up.
Delete a Volume
Follow these steps to delete a volume,
- Sign in to your IDrive® Compute account.
- Click the Volumes tab.
- Hover on the required volume, click Actions, and select Delete.
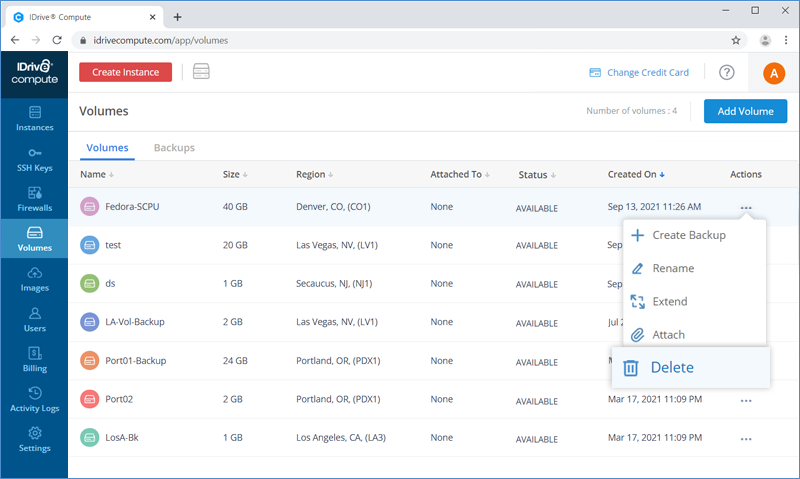
- Click Delete.
